How to Install Apache Web Server
Apache, and all the other packages that we’re going to use here can be installed either via pkg(8) or via FreeBSD ports. To install Apache 2.4 via pkg:
sudo pkg install apache24
To install Apache 2.4 via ports:
cd /usr/ports/www/apache24 && sudo make install clean
FYI: Installing from ports usually takes longer than installing binary packages via pkg. However, this process gives you better control of the package(s) you’re installing.
After installing Apache, add this line of code to your /etc/rc.conf file:
apache24_enable="YES"
Then start the Apache service by running this command in your terminal:
sudo service apache24 start
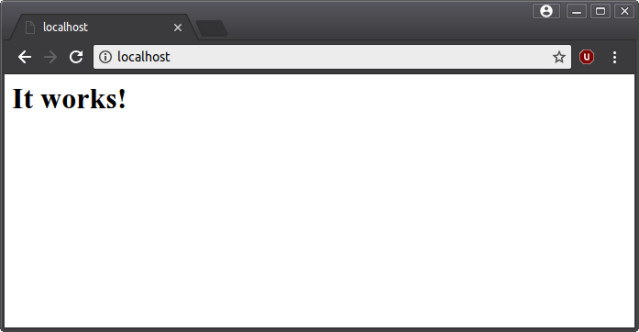
Now, let’s see if Apache is running. Open up a web browser and then click on this link: http://localhost/. You know Apache is working if you see something like this:

Congratulations, you now have a running web server on your computer. Let’s continue.
How to Install PHP 7
To install PHP 7.0 and some other essential PHP modules via pkg, just run this command:
sudo pkg install php70 mod_php70 php70-bz2 php70-gd php70-imap php70-json php70-mbstring php70-mcrypt php70-mysqli php70-session php70-tidy
After installing PHP, we need to make it communicate with the Apache server. To do that, open up Apache’s configuration file located at /usr/local/etc/apache24/httpd.conf.
Important: Before you make any changes on this file, make sure you back it up first.
Look for the lines that starts with “LoadModule“, there are quite a bunch of them on this file. At the last line that says LoadModule, add the following lines of codes below:
LoadModule php7_module libexec/apache24/libphp7.so
AddType application/x-httpd-php .php
<FilesMatch "\.php$">
    SetHandler application/x-httpd-php
</FilesMatch>
<FilesMatch "\.phps$">
    SetHandler application/x-httpd-php-source
</FilesMatch>
Now scroll down and look for the line that says “DirectoryIndex” and add index.php after index.html with a single space between them, so it would look like this:
<IfModule dir_module>
    DirectoryIndex index.html index.php
</IfModule>
Save the file and restart Apache by running this command:
sudo service apache24 restart
If you want to check Apache’s status, simply run this command:
sudo service apache24 status
Apache is running properly if see something like this:
apache24 is running as pid 5278.
Now to test if PHP is working with Apache, create a simple PHP script called info.php and save it in /usr/local/www/apache24/data, and in this script type in:
<?php echo phpinfo(); ?>
Save the info.php file, then open up your web browser and go to http://localhost/info.php. You should see something like this:

PHP is now up and running with Apache.
How to Install MySQL Database Server
You can install MySQL 5.7 in FreeBSD via pkg by running this command:
sudo pkg install mysql57-server mysql57-client
After installing MySQL, open your /etc/rc.conf file and add this line:
mysql_enable="YES"
Then start the MySQL service by running this command:
sudo service mysql-server start
To restart the MySQL server, just run this command:
sudo service mysql-server restart
It is recommended to secure the MySQL instance before you use it. Run the following command to secure the MySQL instance.
sudo mysql_secure_installation
Follow the instructions on the screen by giving it a simple Yes or No answer. Also make sure you setup a password that you can easily remember for the root user.
To test the MySQL server, type in this command in your terminal:
mysql -u root -p
After entering the MySQL’s root password, you should see something similar to this:
Welcome to the MySQL monitor. Commands end with ; or \g.
Your MySQL connection id is 32
Server version: 5.7.23-log Source distribution

Copyright (c) 2000, 2018, Oracle and/or its affiliates. All rights reserved.

Oracle is a registered trademark of Oracle Corporation and/or its
affiliates. Other names may be trademarks of their respective
owners.

Type 'help;' or '\h' for help. Type '\c' to clear the current input statement.

root@localhost [(none)]>
Your MySQL server is now ready. Just type in exit on the MySQL prompt to exit. Now let’s go to the final part of this tutorial. Yey!
How to Install phpMyAdmin
Finally, to install phpMyAdmin, simply run this command:
sudo pkg install phpMyAdmin-php70
After the installation, again open httpd.conf and add these lines of codes at the very end of the file:
Include etc/apache24/Includes/*.conf

Alias /phpmyadmin "/usr/local/www/phpMyAdmin/"

<Directory "/usr/local/www/phpMyAdmin/">
    Options None
    AllowOverride Limit
    Require local
    Require host localhost
</Directory>
Save the httpd.conf file, then restart Apache:
sudo service apache24 restart
Now, phpMyAdmin would require a configuration file called config.inc.php. If if doesn’t exists simply run the following command to create it:
cd /usr/local/www/phpMyAdmin && sudo cp config.sample.inc.php config.inc.php
Then open config.inc.php and look for the line that says:
$cfg['blowfish_secret'] = ''
Type in any random string for the value. You can type in letters, numbers and/or symbols, it doesn’t matter as long as it’s 32 characters long. It should look similar to this:
$cfg['blowfish_secret'] = 'Ey0r*h!5g#oNf5WvkosW)*H$jasn%$!1'
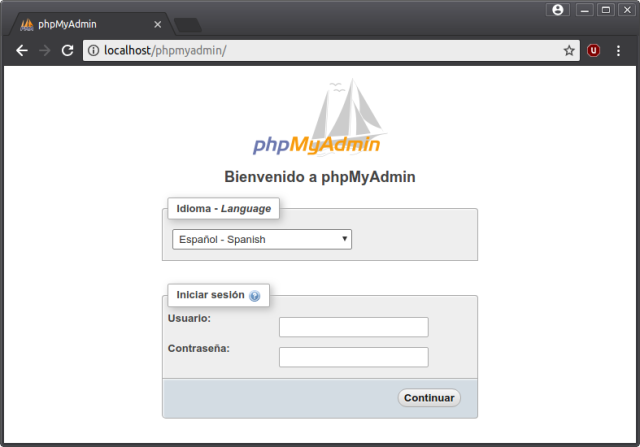
To test if phpMyAdmin is running, go to this URL: http://localhost/phpmyadmin. You should see phpMyAdmin’s login screen:

Troubleshooting phpMyAdmin Login
If you get an error message upon logging in, that says something like:
mysqli_real_connect(): (HY000/1862): Your password has expired.
To log in you must change it using a client that supports expired passwords.
You can fix this issue by opening up a terminal and logging in to MySQL as root:
sudo mysql -u root -p
After logging in, enter this one liner SQL query at the MySQL prompt and hit enter:
ALTER USER 'root'@'localhost' IDENTIFIED BY 'password','root'@'localhost' PASSWORD EXPIRE NEVER;
Just change ‘password’ with your own MySQL root password.
